
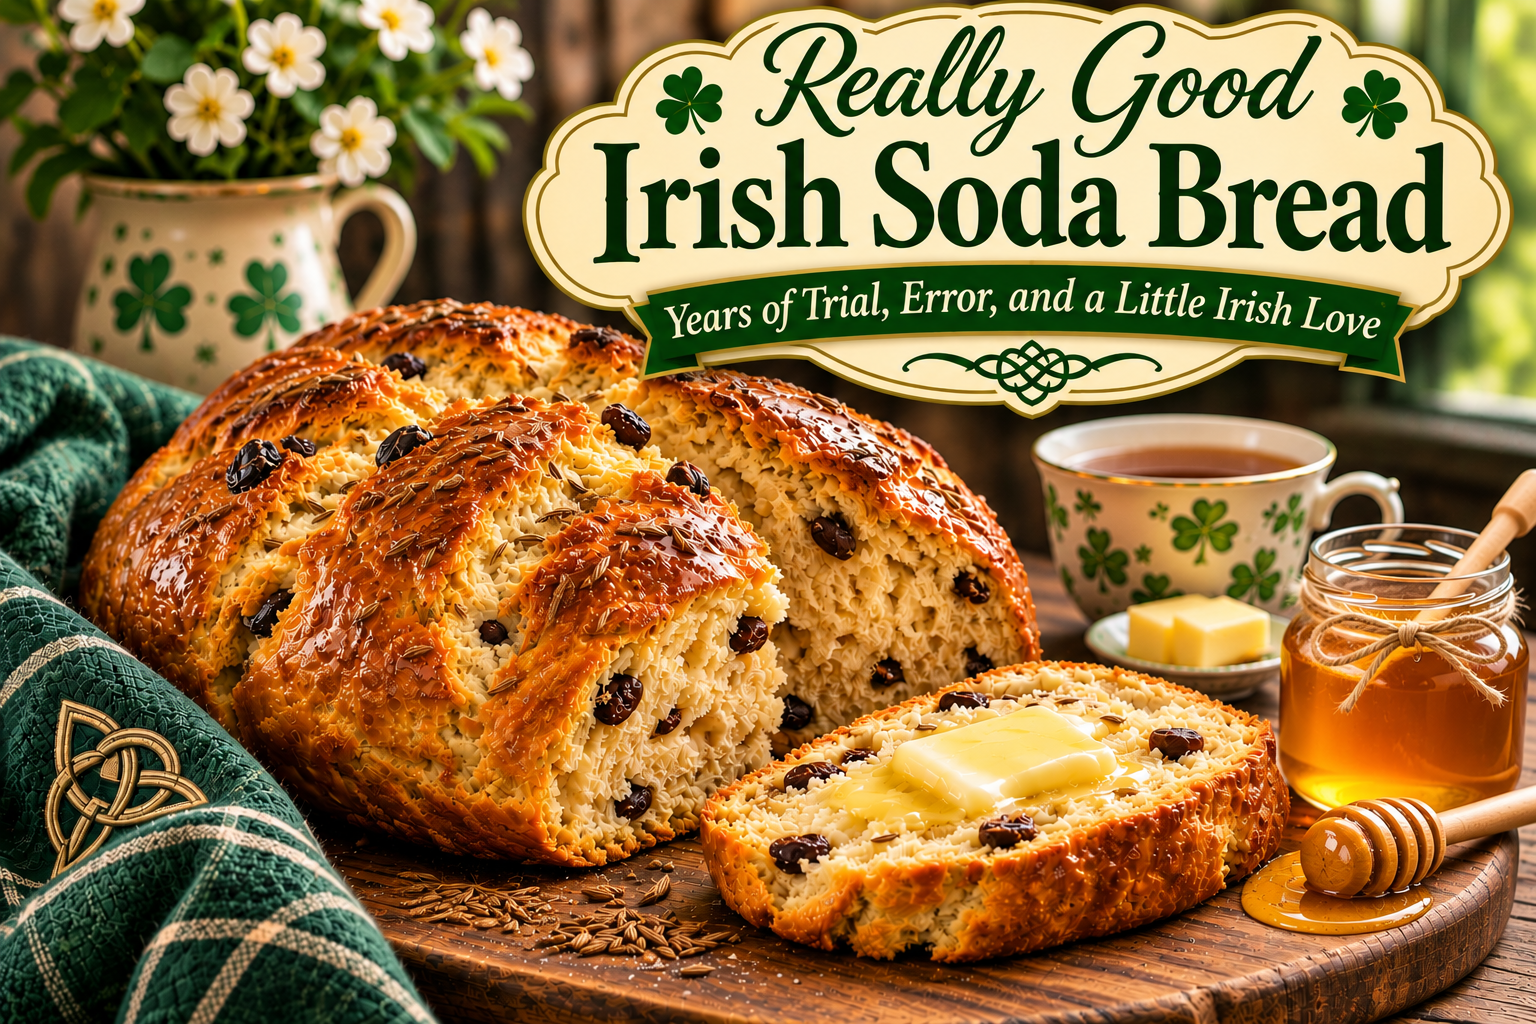
I have always loved Irish Soda Bread. Growing up, it wasn’t something we had often, so when we did, it was something special. I have fond memories of having it on Saint Patrick’s Day while my mom cooking corned beef and cabbage (even though we all hated cabbage!) and Irish folk songs playing in the kitchen.
Once I grew up and had a family of my own, I decided that a Saint Patrick’s Day would never go by again without some homemade soda bread.
I tried many recipes, some too dry, some to dense. Raisins, dates, you name it. And after years of trial and error, I have FINALLY perfected my Irish Soda Bread, hence the name “Really Good Irish Soda Bread.”
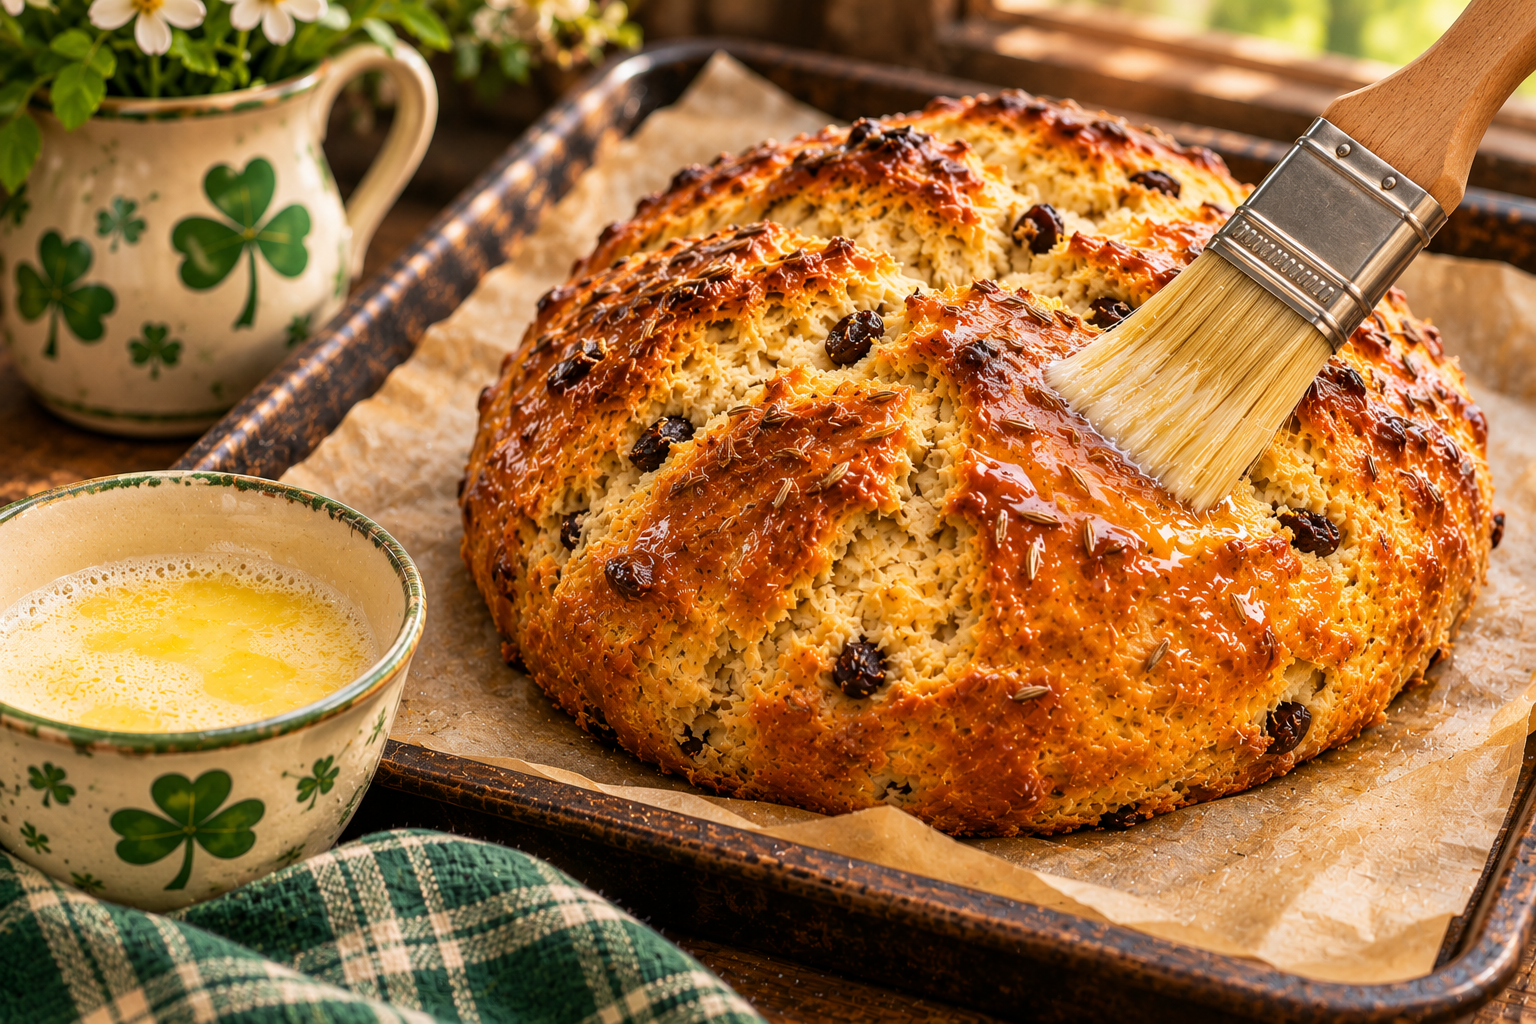
I will put a disclaimer that this is not something you throw together and walk away from. It is a baking labor of love. After everything goes into the oven, I visit that beautiful little round of heaven every 15 minutes, brushing it with melted butter and milk allowing it to soak in and create just the right flavor. I know it sounds like a lot of work, but it is sooooo worth it!
There are plenty of Irish soda bread recipes out there, and believe me, I've tried and adjusted my fair share of them!
Over the years, I've experimented with ingredients, measurements, and techniques until I finally arrived at a loaf that tastes exactly the way I want it to.
For me, the caraway seeds are what really make this bread special. They give it that wonderful, distinctive flavor that I associate with traditional Irish baking.
And then there's the crust.
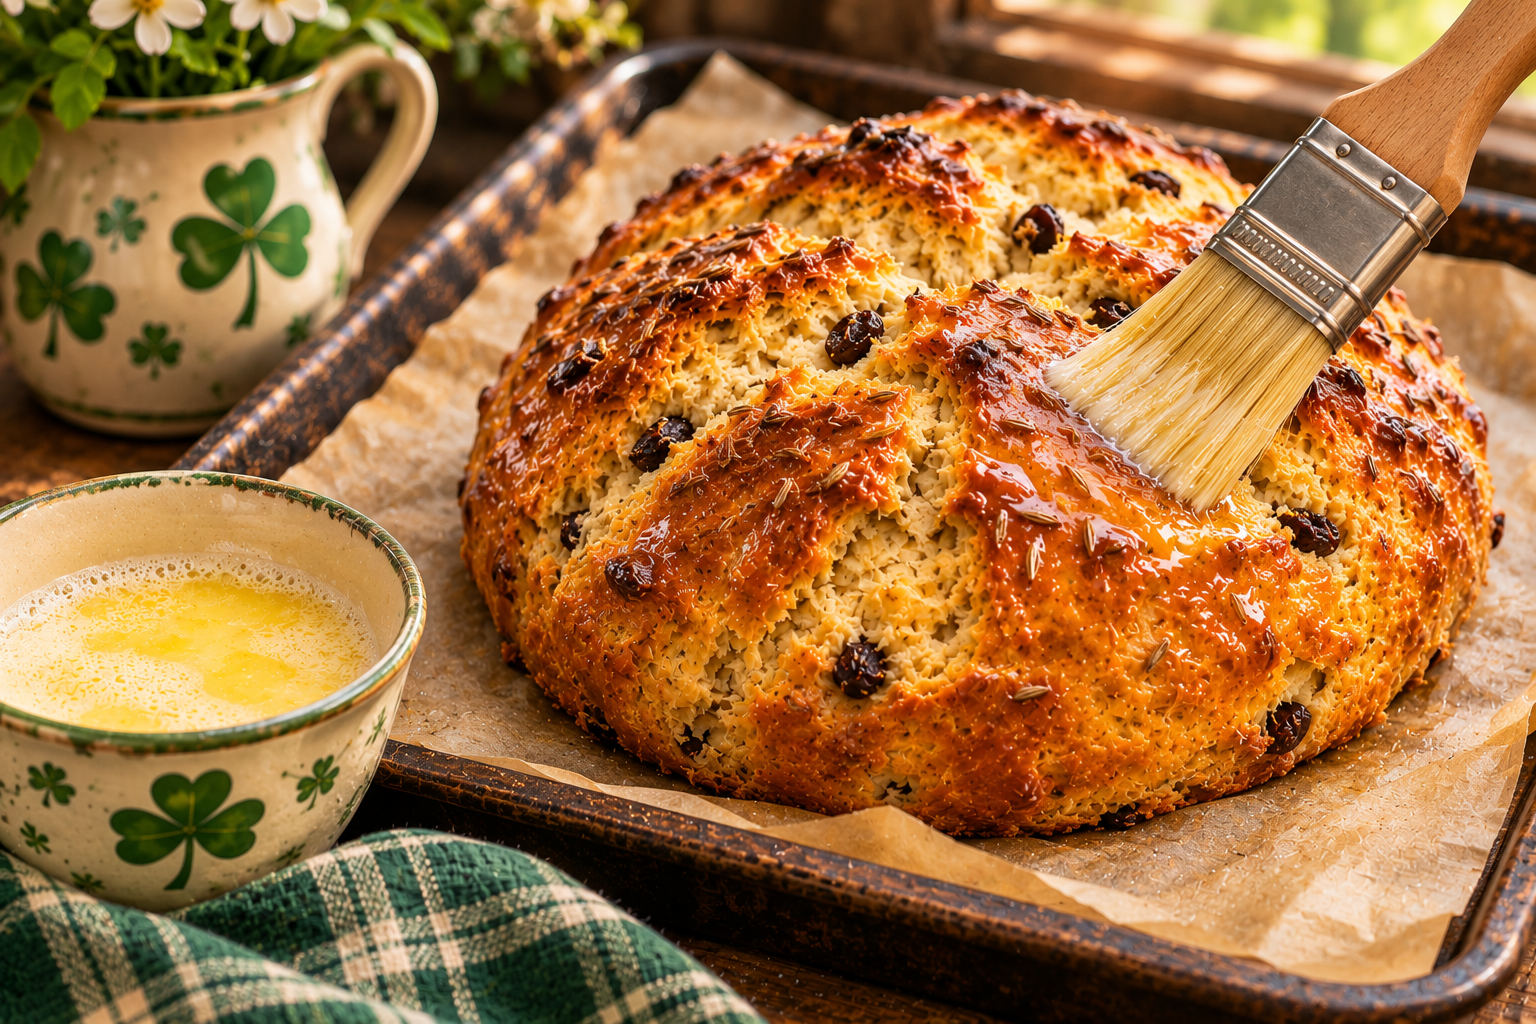
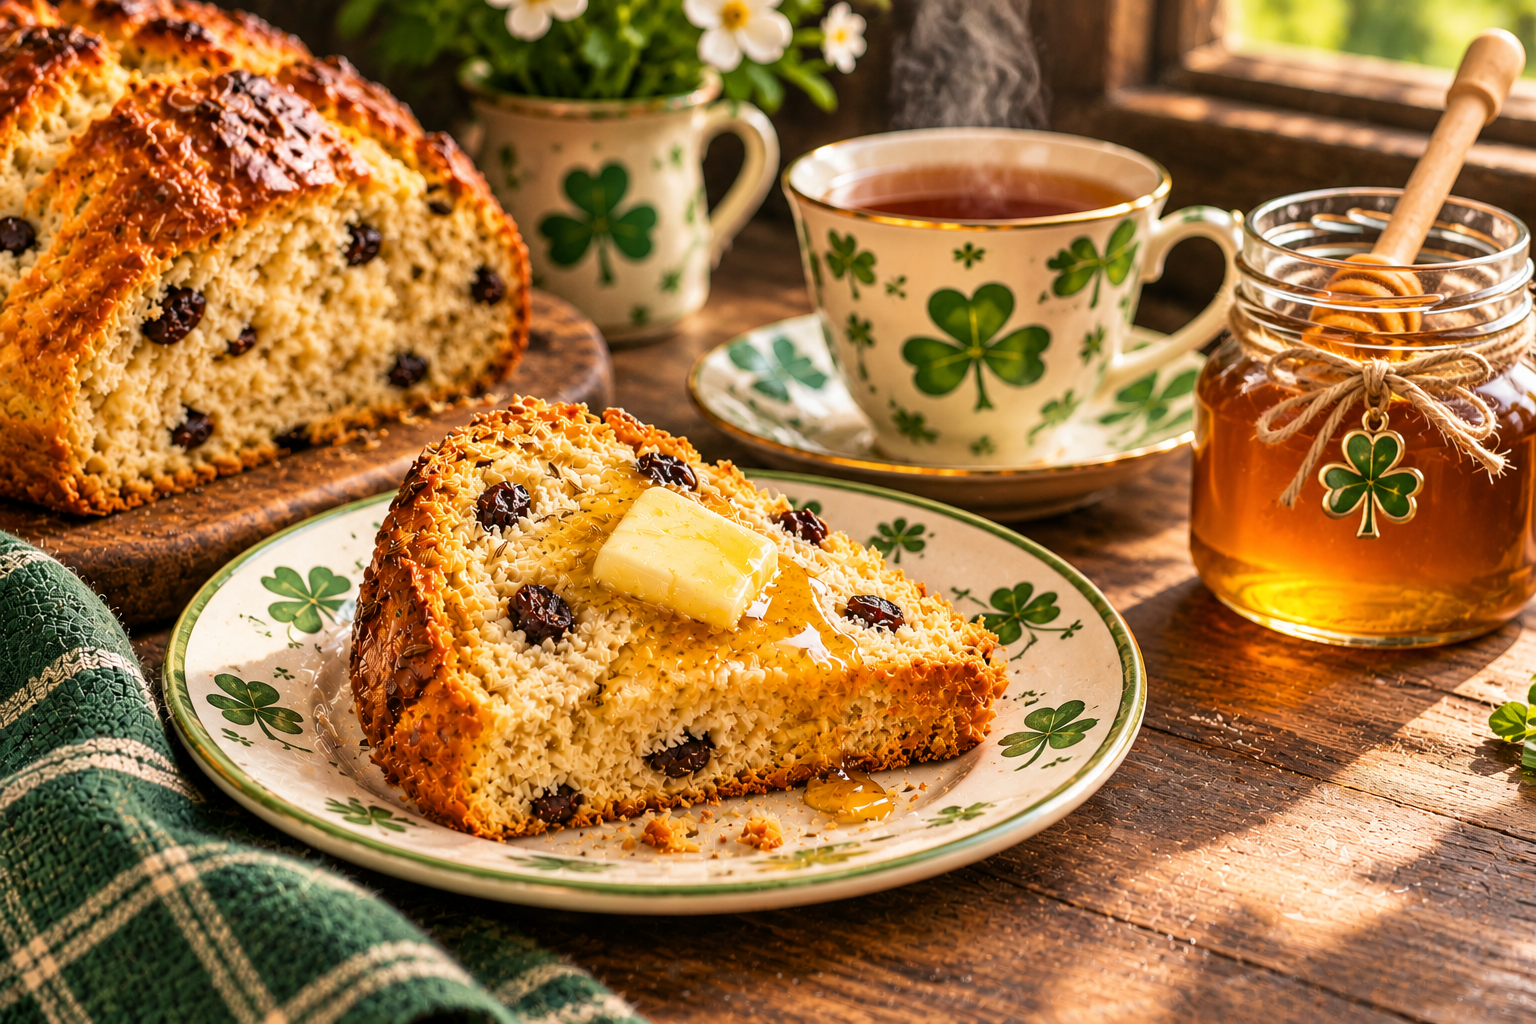
Rather than letting the outside become hard and dry, I brush the loaf with melted butter and buttermilk several times while it bakes. The result is a beautiful golden crust with a tender interior.
This is the version I make every St. Patrick's Day, and I'm delighted to share it with you.
Really Good Irish Soda Bread
Ingredients
For the bread:
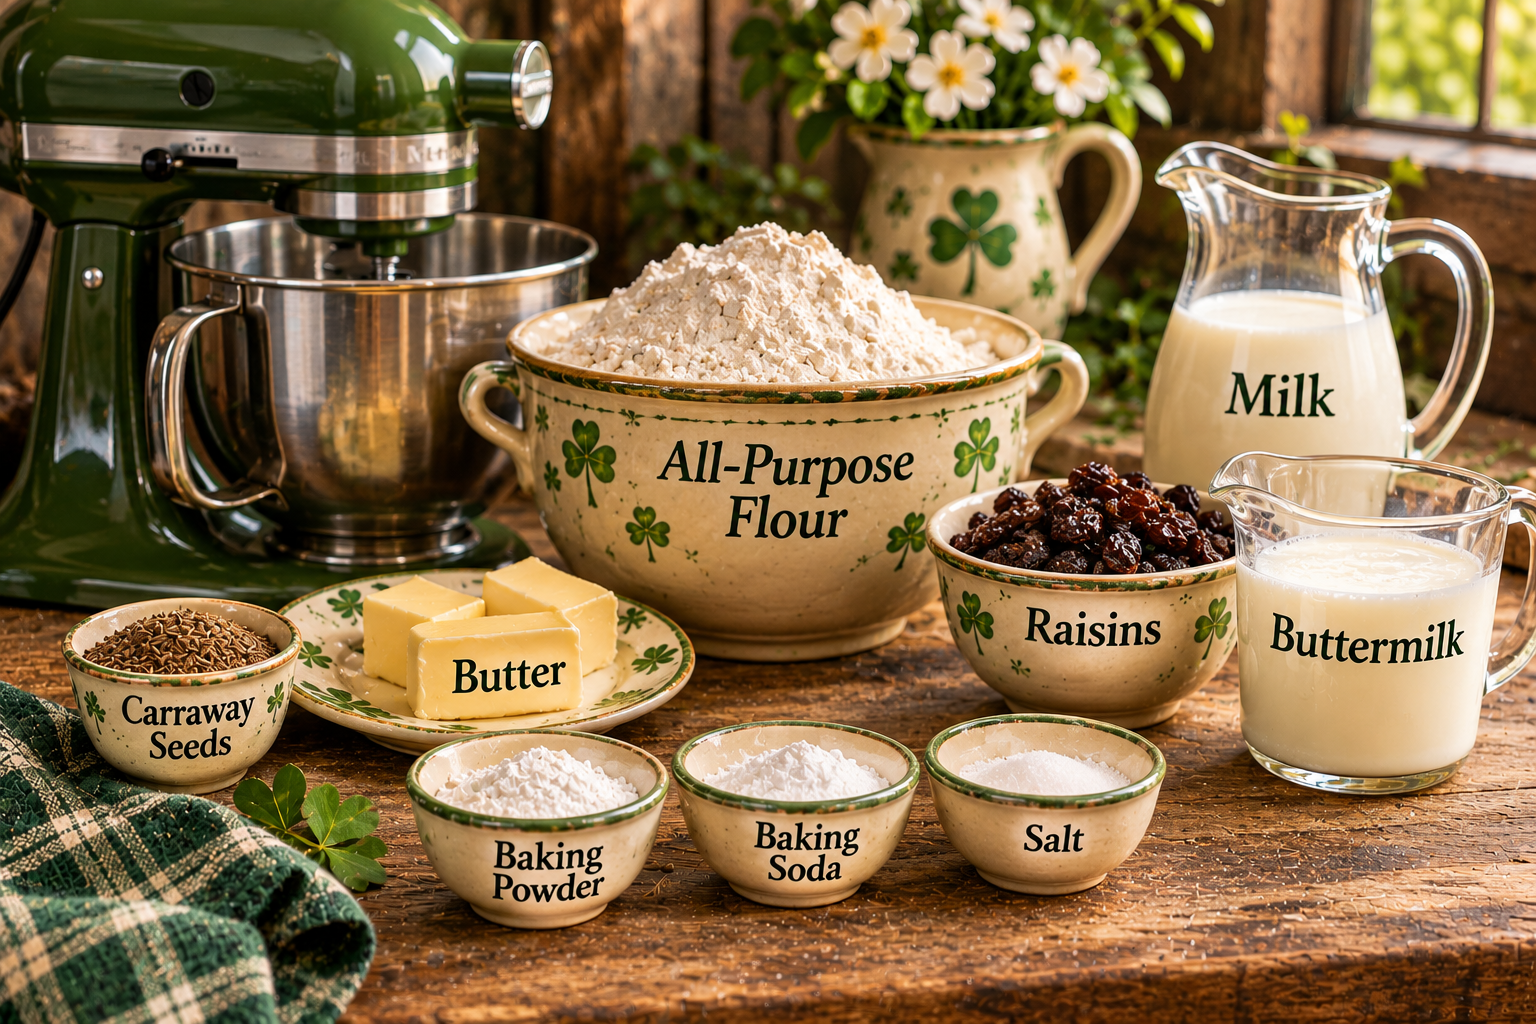
4 cups all-purpose flour
1 tablespoon sugar
1 teaspoon baking soda
1 tablespoon baking powder
1/2 teaspoon salt
1/2 cup melted butter
1 cup buttermilk (or sour milk)
1 egg
3/4 cup raisins
1 teaspoon cinnamon
1 teaspoon caraway seeds
For brushing during baking:
1/4 cup melted butter
1/4 cup buttermilk
Instructions
Preheat your oven to 350°F. Lightly grease a cookie sheet or baking sheet.
Mix the dough. In a large mixing bowl, combine the first 11 ingredients, from the flour through the caraway seeds. Mix until everything comes together into a dough. It may be somewhat crumbly at first; just press it together.
Shape the loaf. Form the dough into a round loaf and place it on your prepared baking sheet.
Score the top. Using a sharp knife, cut an X into the top of the dough.
Prepare the brushing mixture. In a microwave-safe bowl, combine the remaining 1/4 cup melted butter and 1/4 cup buttermilk. Warm them together gently.
Bake for approximately one hour. While the bread bakes, brush the top with the butter and buttermilk mixture about every 15 minutes. You may need to warm the mixture again between brushings if the butter begins to solidify.
Check for doneness. The loaf should have a beautiful golden-brown crust and be baked through in the center. Oven temperatures vary, so check it toward the end of baking.
Serve and enjoy! Allow the bread to cool enough to slice, then serve warm with butter. A little honey is wonderful with it, too!
A Few Tips from My Kitchen
Don't skip the caraway seeds. In my opinion, they're one of the things that make this recipe so good. Their distinctive flavor gives the bread its character.
Keep brushing that crust. The butter and buttermilk mixture is one of my favorite tricks. It helps create a lovely golden exterior without the overly hard, dry crust that soda bread can sometimes develop.
Don't worry if the dough looks a little crumbly. Press it together and shape your loaf. It doesn't need to look like a perfectly smooth yeast bread.
Wrap your leftovers well. This bread is best enjoyed fresh. Once cooled, wrap any remaining bread tightly in plastic wrap. If it isn't wrapped well, it can become hard rather quickly.
From My Kitchen to Yours
This bread makes its appearance in my kitchen every St. Patrick's Day. I bake it, share it with anyone who wants some, and then somehow it disappears from the menu until the following March.
Of course, there's absolutely no rule saying you have to wait for St. Patrick's Day to make it!
Serve it warm, spread on some butter, drizzle a little honey over a slice if you like, and enjoy.
Made with love, a little Irish nostalgia, and years of trial and error.
Sláinte! ☘️